

 English
  عربى
عربى  中文简体
中文简体 


News

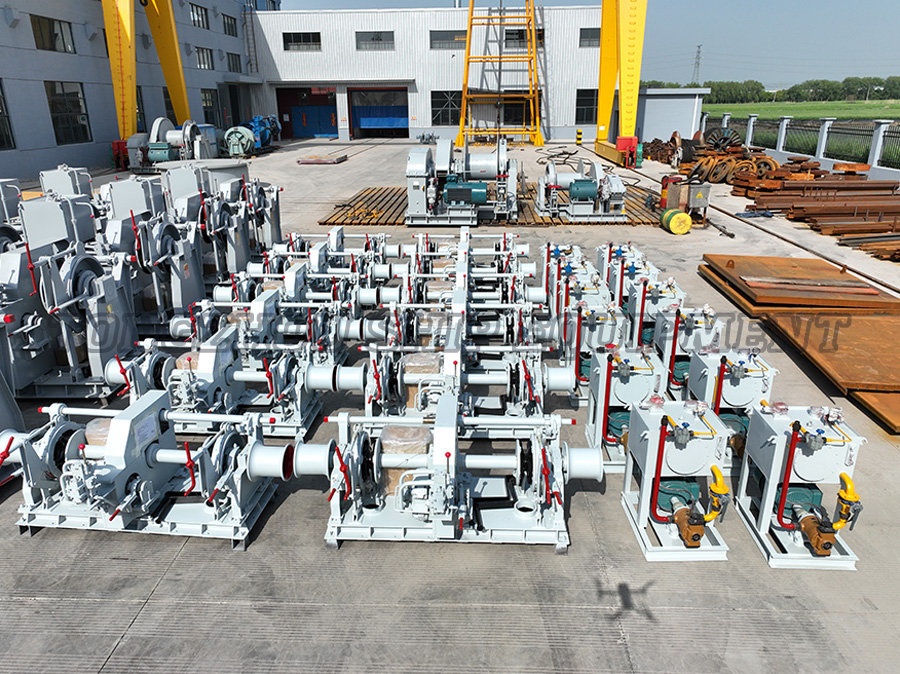
How Do You Install a Marine Windlass on Your Boat?
 2025.04.11
 Industry News
Installing a marine windlass on your boat can significantly improve anchoring efficiency and safety, reducing manual effort while ensuring reliable performance.
1. Choose the Right Windlass
Before installation, select a windlass compatible with your boat’s size, anchor type, and deck configuration. Key considerations include:
Type: Vertical or horizontal axis (determined by deck space).
Power Source: Electric (12V/24V) or hydraulic (for larger vessels).
Load Capacity: Match the windlass to your anchor and rode (chain/rope) weight.
Consult manufacturer specifications to ensure proper fitment.
2. Gather Tools and Materials
You’ll need:
Marine-grade sealant (e.g., 3M 5200)
Stainless steel bolts & backing plates
Wiring kit (correct gauge for amperage)
Circuit breaker or fuse
Drill, jigsaw, and measuring tools
3. Positioning the Windlass
Bow Reinforcement: Ensure the deck can handle the load. Reinforce with a backing plate if needed.
Alignment: The windlass must line up with the anchor roller for smooth operation.
Clearance: Verify there’s enough space below deck for the motor and wiring.
4. Drilling and Mounting
Mark the holes using the windlass template (provided by the manufacturer).
Drill carefully to avoid deck damage. Seal holes with marine adhesive to prevent water intrusion.
Secure the windlass using stainless steel bolts and a backing plate for strength.
5. Electrical Installation
Wiring: Run appropriately sized cables from the battery to the windlass, protecting them with conduit.
Circuit Protection: Install a fuse or breaker near the power source.
Control Switch: Mount a waterproof switch at the helm or near the windlass for easy operation.
6. Testing and Calibration
Perform a dry run without load to check motor function.
Test under light load before full deployment.
Ensure the chain/rope feeds smoothly into the locker.
Pro Tips for Success
Waterproof all connections with heat shrink tubing or liquid tape.
Regularly inspect seals and bolts for corrosion.
Lubricate moving parts annually.

-
Corporate Email:
-
Sales Email:
-
Address:No. 16 Kesheng Road, Development Zone, Xinghua City, Jiangsu Province, China


